Getting Started with Balnzed
Welcome to Balnzed! Follow our step-by-step guide to set up your account and start managing your business finances efficiently.
Invoices
Create New Invoice
Follow the steps below to send invoices to your customers for your goods and services.
- Go to the Sales section and click on the Invoices.
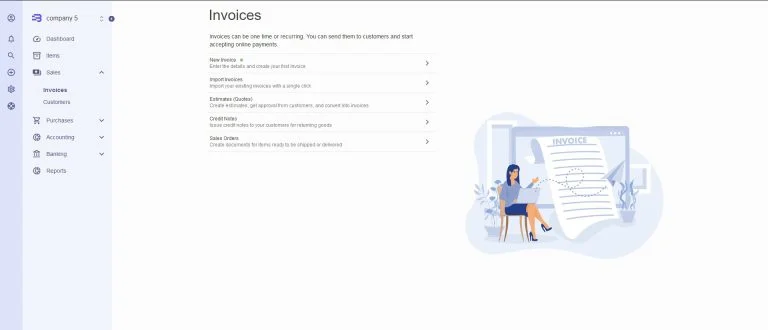
- Go to the New Invoice.
- From here, you can customize your new Invoice by going through each section below:

Invoice Details
- Company Details - Your Business information is displayed automatically based on what's in your Business settings, click to edit this if needed.
- New Customer - Click on New Customer, and enter the customer details. The Customer’s Name and Payment Currency are required fields.
- Invoice Date - The date of your Invoice, you can click on it and choose between typing in the new date or using the calendar picker instead.
- Due Date - The date your Invoice should be paid by, this is remembered based on the last Invoice you created, or you can click on it and choose between On Date of Issue, After x Days.
Items and Taxes
- Add a new line - Fill out the blank fields for Item, Description, Account, Quantity and Rate. (Item not required)
- Add Tax - The tax type entered in the chart of accounts is automatically included when selecting the item. can be changed if needed.
- Delete Line - Hover over the right of any line item and click on the trash can icon to delete that line item.
Notes, Footer and Attachment
- You can add Notes to invoices for instructions to the recipient.
- You can add or edit the footer and upload attachments to the invoice. upload any files
- (images or photos, PDF, CSV, spreadsheets, etc up to 5MB each)
Save or Send the Invoice
once the Invoice looks the way you want it, you can either click on,
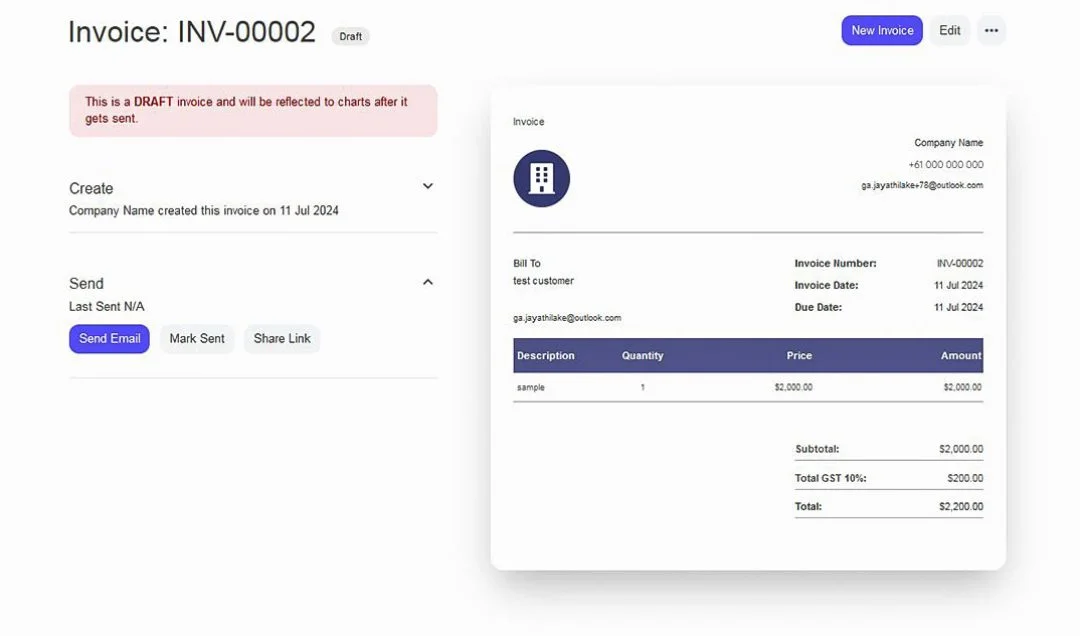
- Save - If the Invoice is new, this will save as a Draft.
- Send To - Click on this to send the Invoice by email or generate a link to share instead.

Sending an Invoice
- Send email - Enter the email address of the Invoice recipient, Subject and write details in the Email body.
- If desired, you can check the box to send an email copy.
- Click Send.
Adding Payment
- After sent email Get Paid section is enabling.
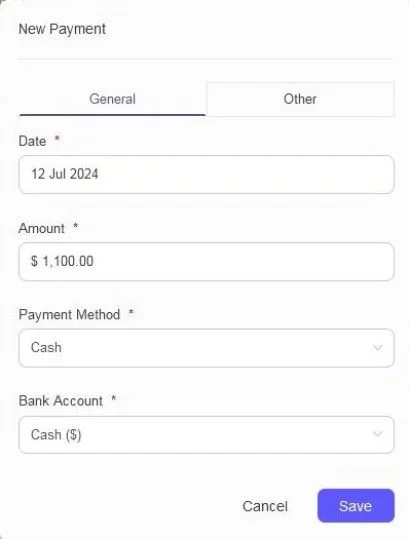
- Click on Add Payment and enter the required details in the Add Payment pop-up window.
- Click Save, the Invoice status is updated to Paid.
Splitting Invoice Payment
- Click on Add Payment and enter the required details in the Add Payment pop-up window.
- Edit the Amount field to accurately reflect the partial payment made.
- Click Save, the Invoice status is updated to Partial.
Create Recurring Invoice
- Go to Invoices page, switch tabs from Invoices to Recurring Templates.
- Click New Recurring Invoice.
- Enter the required details then Save.

Managing Invoices
- Go to the Sales section and click on the Invoices .
- On the Customer page, Customers are sorted by Due Date, Invoice Date, Status, Customer, Number, Amount.
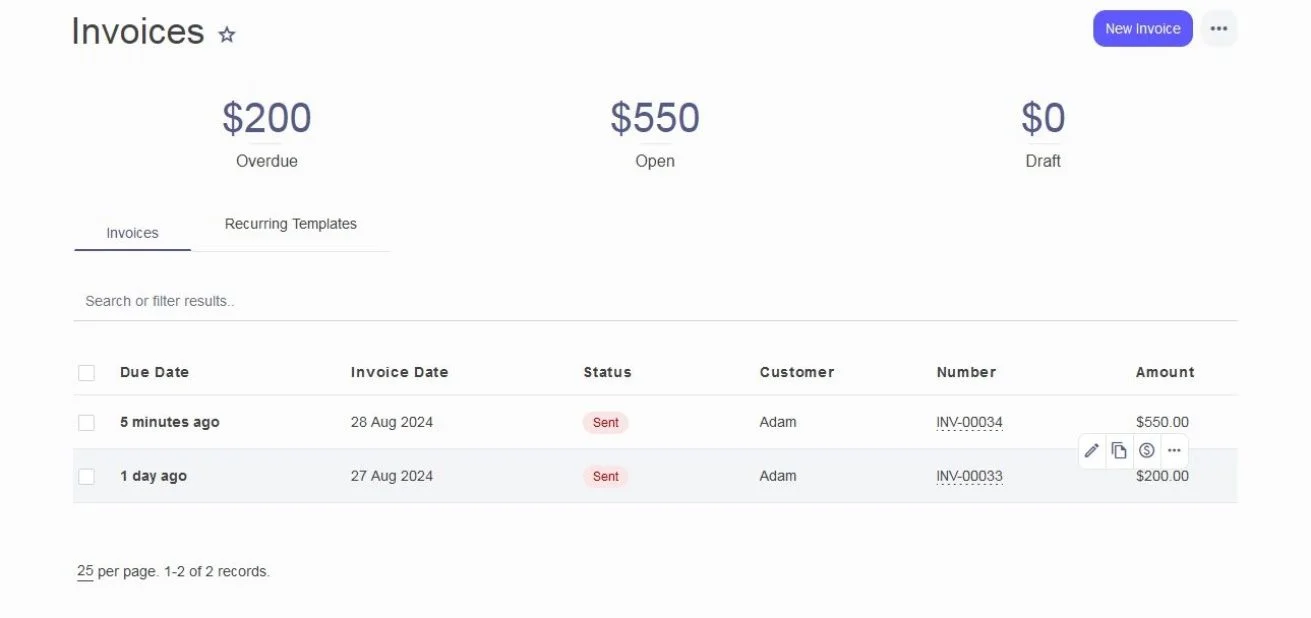
- Hover over an Invoice to reveal the options to Edit, Duplicate, and Add payment.
- Click on the ellipses menu icon ellipses menu icon to reveal more options – Print, Download PDF, Share link, Cancel and Delete. .